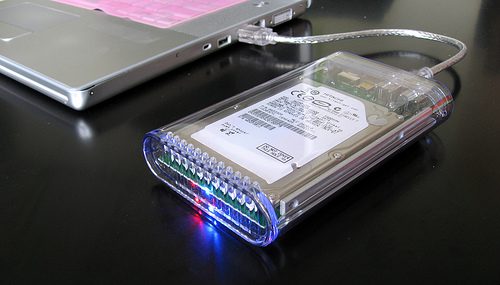
Did you know that when you buy an external hard drive to use with your Mac, it’s usually a good idea to set it up for Mac use?
These days you can buy any external hard drive, not just the ones labeled for Mac. So you can choose based on price and looks. It’s great to have a wider selection, and often a lower price, than just the Mac items on offer.
However if you’ll be using the drive only on your Mac, you should do what’s called “reformatting.” (If you’ll be using the drive with both a Mac and a PC, don’t reformat it–leave it as it is. You might get slightly worse performance or see small stability issues.)
Here’s how to reformat a drive for use with Mac.
**DO NOT do this with a drive that has data on it! All your data will be erased! Only do it with a brand-new drive.**
1. Attach your new drive to your computer via cable (USB or FireWire cable, depending on the drive), and plug it into the wall if it requires wall power, and turn it on if it has a power switch.
2. Go to your Applications folder. (If you don’t know how to do this: Click on the Finder [the smiley face] in the Dock, and then in the window that pops open, you should see Applications as one of the items way over on the left side.)
3. Inside your Applications folder is a Utilities folder. Open it.
4. Inside your Utilities folder is an application called Disk Utility. Double-click on it to run the application.
5. In the application, on the left-hand side is a white box that shows all your available drives. One of them will be your computer’s internal hard drive; one may be the DVD drive that’s in your computer. One of the items should be the brand-new drive that you just attached to your computer–the one you want to reformat. Click on it, so it is selected.
You might see 2 drives that both look like your new external hard drive–one with one name, and one just below it, indented, with a different name. If that’s the case, select the upper one (the one that’s not indented).
6. On the right-hand side of the same window, towards the top, you’ll see “First Aid” “Erase” “Partition” “RAID” and “Restore.” Click on “Erase.”
7. You will see Format and Name. In the Format dropdown, choose “Mac OS Extended (Journaled).” You can also name your drive by putting something in the Name field, if you want. It’s optional.
This Mac OS Extended (Journaled) selection is what formats the drive for Mac.
8. Click the Erase button. It will give you a warning about erasing all the data! This is a good time to double-check to make sure you’ve selected the correct drive to erase. If you’re confident about it, then click Erase.